
What is a Webhook?
A webhook is an API concept that is gaining traction. Webhooks are becoming increasingly useful as more and more of what we do on the web can be defined by events. They're quite handy and a low-cost approach to implement event reactions.
What is a webhook, exactly? A webhook is a method for an app to communicate real-time information to other apps. A webhook sends data to other applications as it happens, so you get it right away. Unlike traditional APIs, which require you to poll for data quite frequently in order to access it in real-time. Webhooks become significantly more efficient as a result, for both supplier and consumer. The sole disadvantage of webhooks is the complexity in putting them up at first.
Webhooks are frequently referred to as "Reverse APIs," because they provide you with an API spec and need you to create an API for the webhook to use. The webhook will send an HTTP request to your app, and you will be responsible for evaluating it.
Consuming the Webhook
The first step in consuming the OpenPath webhook is to provide OpenPath with a URL to which requests should be delivered. This is accomplished via the OpenPath back office. This means that you must also include a URL in your app that is accessible from the public internet.
The OpenPath Webhook will POST data to you in JSON format for you to interpret.
Debugging the Webhook
Debugging a webhook might be difficult at times because they are primarily asynchronous. As a result, you must activate them, wait, and then examine the response. This is time-consuming and inefficient. Fortunately, there are other options! It comes down to the following:
- Understand what the webhook offers by collecting the webhook's requests with a tool like Webhook.site.
- Mock the requests with a tool such as cURL or Postman.
- Use a tool like ngrok to test the code on your machine.
Setting Up a Webhook
| Step | Description |
1:Login |
Login to your OpenPath account at: https://client.openpath.io |
 |
|
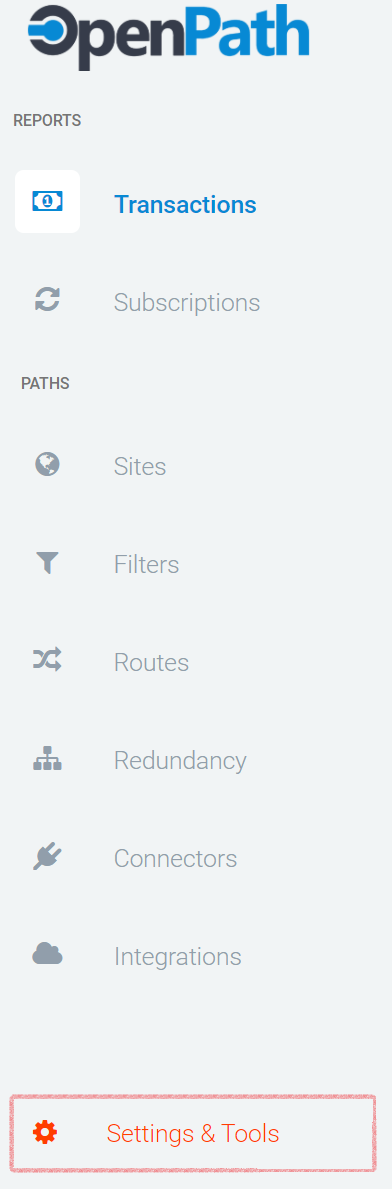
2:Settings & Tools |
From back office navigate to the menu bar on the left and click on Settings & Tools. |
|
|
 |
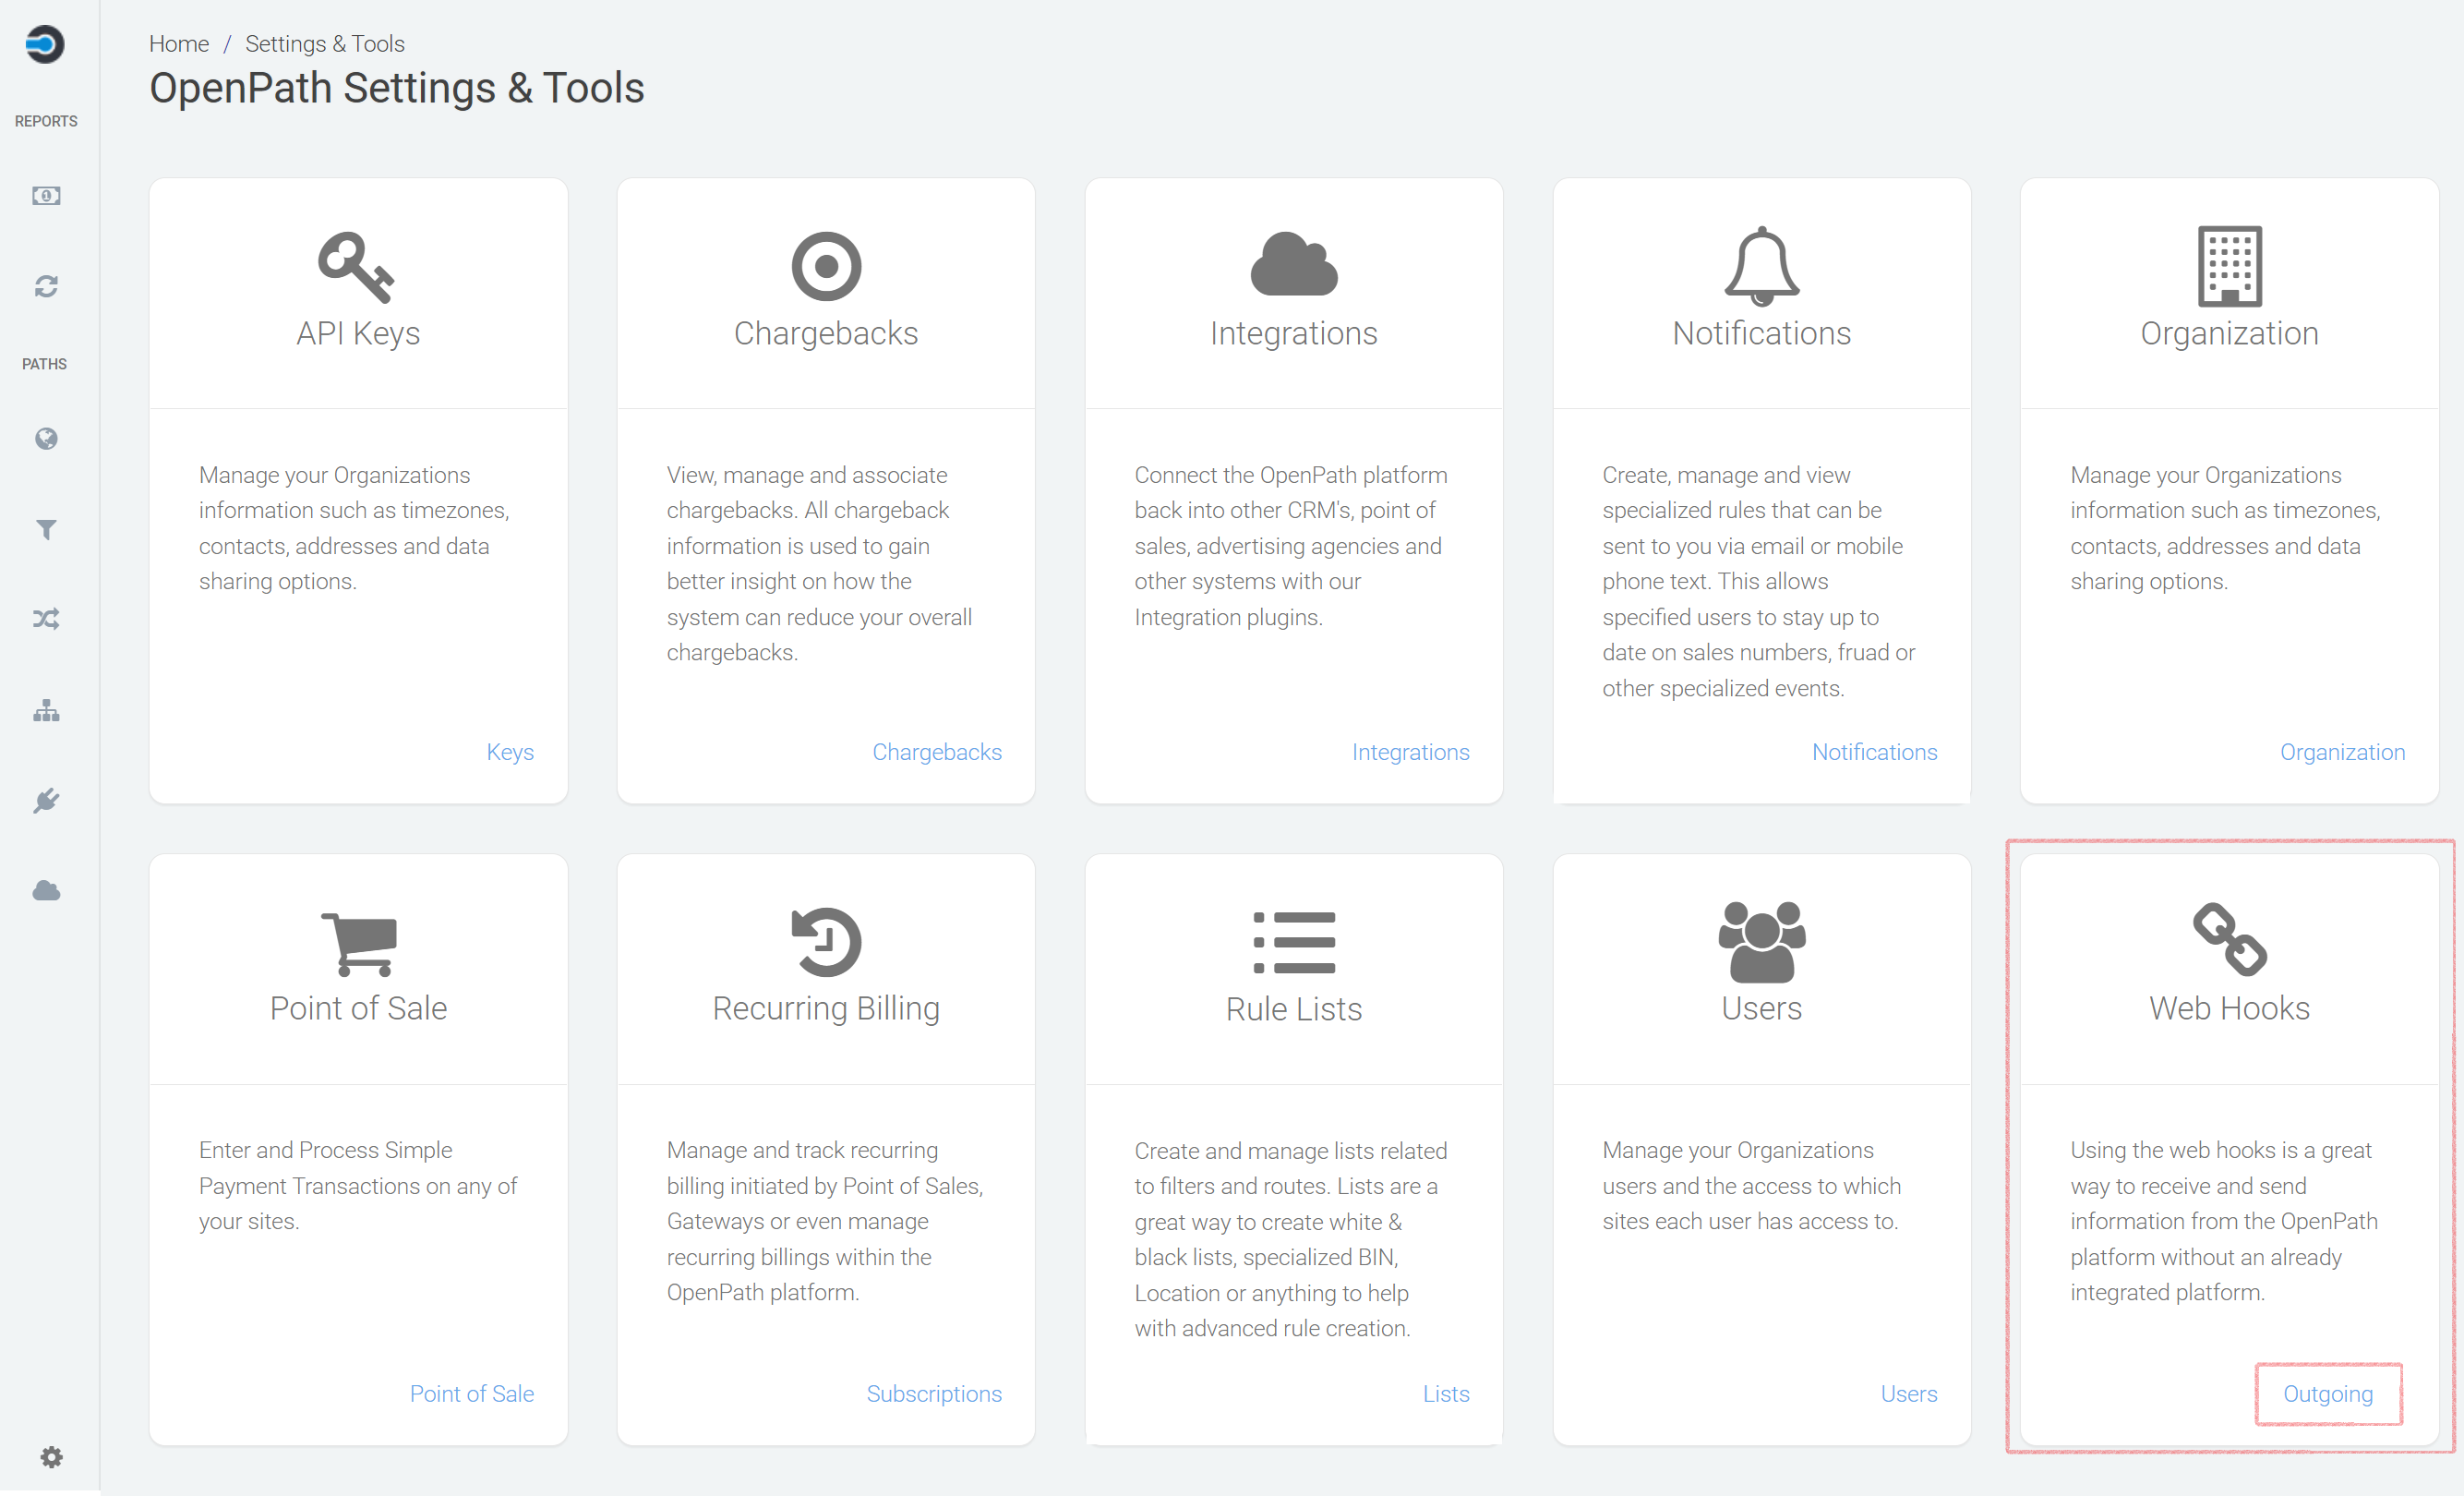
3:Webhooks |
Next find the Webhooks box and click on the link Outgoing. |
|
|
 |
|
|
|
|
|
NOTE: You can create one or many Webhooks pointing to as many different endpoints as you want. Each Webhook can also be configured to fire off events for one or many sites. You will need to create one Webhook for each endpoint you want to connect. |
|
|
|
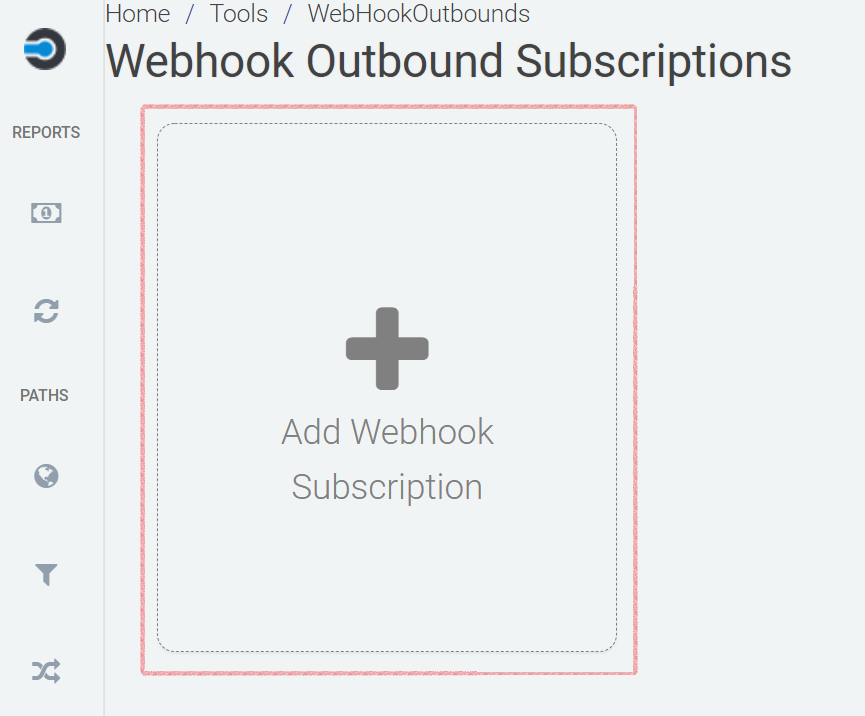
4:Add New Webhook |
Click on the + Add Webhook Subscription box. |
|
|
 |
|
|
|
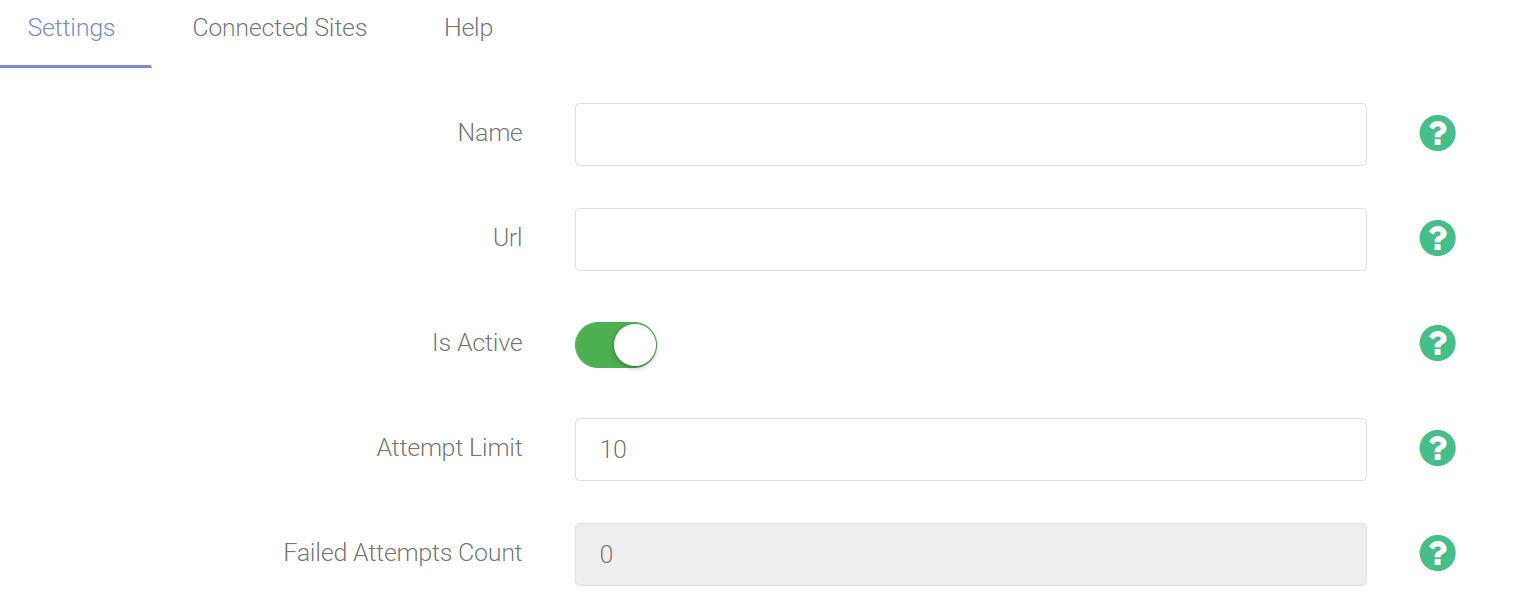
5:Settings |
Enter your desired settings for this webhook. (see field descriptions below). |
|
|
 |
|
|
Name - The name is for your internal reference only; you can name your Webhook whatever you want. URL - When this webhook fires, this is the URL or Endpoint to send the payload to. Is Active - Enables and Disables this Webhook Attempt Limit - Indicates how many failed webhook firings should be allow before deactivating the Webhook. |
|
|
|
|
|
NOTE: If your URL or Endpoint is not ready yet, but you want to test the Webhook, you can use: webhook.site to generate a testing receiving Webhook URL. |
|
|
|
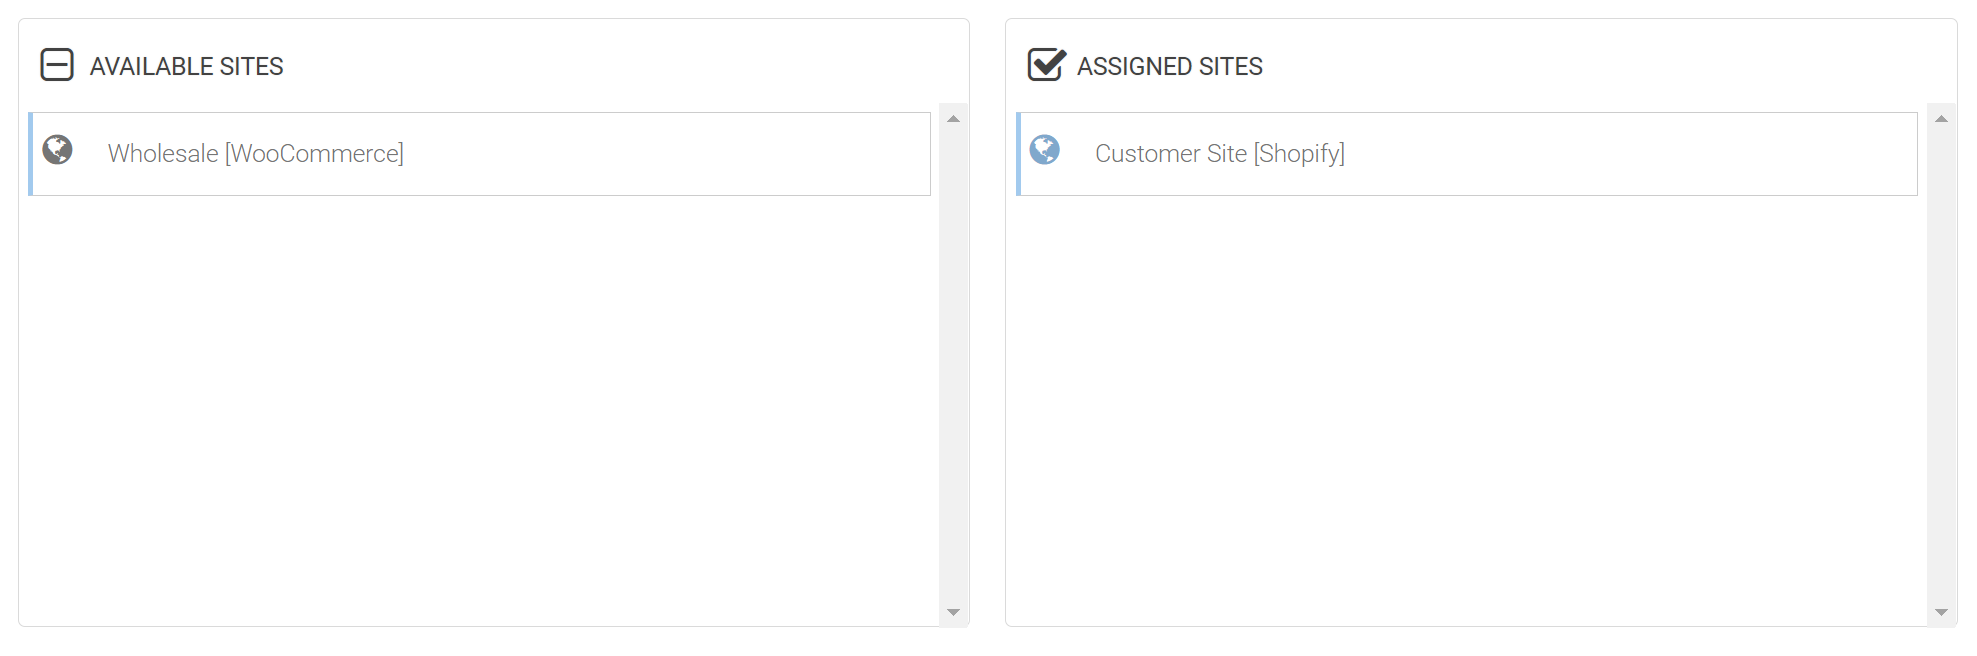
6:Connected Sites |
IMPORTANT: Once you've entered your setting attributes, you must connect at least one site. Click on the Connected Sites tab and drag one or more sites from Available Sites to Assigned Sites. Each site under Assigned Sites will fire a Webhook event when a transaction is passed through them. |
|
|
|
|
|
|
7:Save & Test |
Once you've completed the settings tab the connected sites tab, your webhook is ready to start firing everything a transaction goes through the selected sites. Click the Save button and start testing your Webhook. |
|
|
|

Comments
0 comments
Please sign in to leave a comment.