
This Walkthrough will guide you in setting up a Connector in the OpenPath Admin Portal for Seamless Chex.
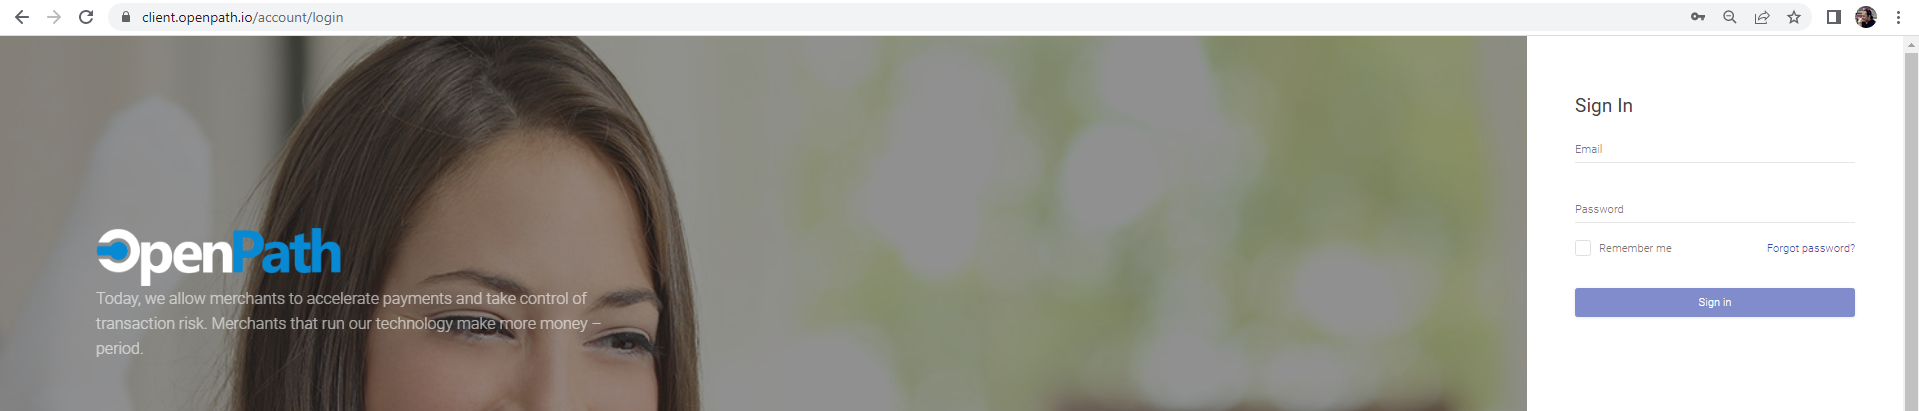
- Login to the OpenPath Admin Portal at https://client.openpath.io/ and input your email and password and click Sign In.
- Navigate to the Left Menu and choose Connector.

- Click on the Plus "+" sign to Add a new Connector. The Add New Gateway window will popup.
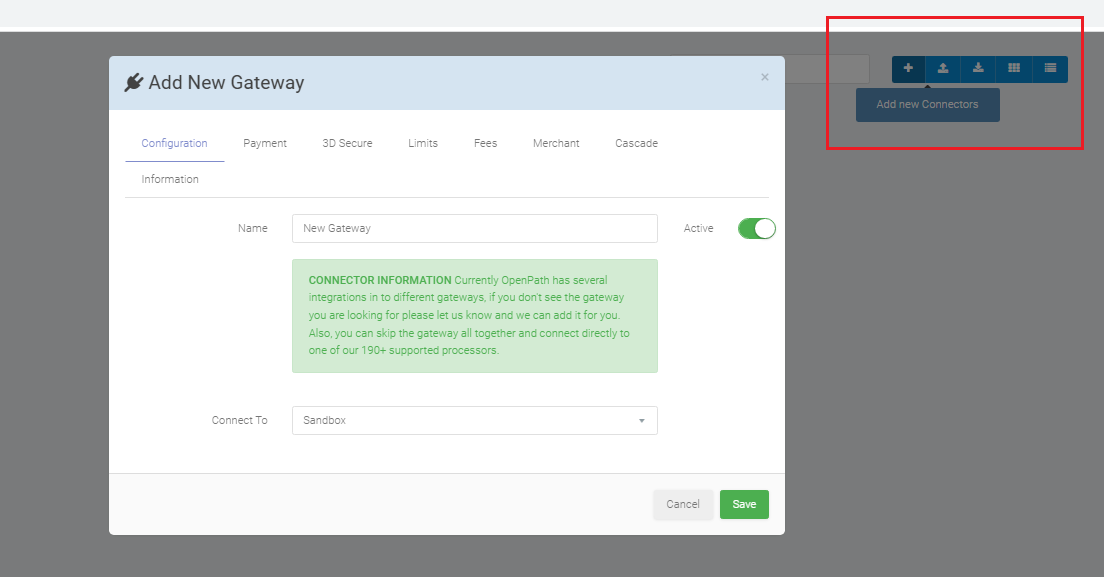
- On the Configurations tab, name of the Connector, choose Seamless Chex in the dropdown menu. Seamless Chex supports both eCheck and Account to Account. You can use either or both with your OpenPath Account.
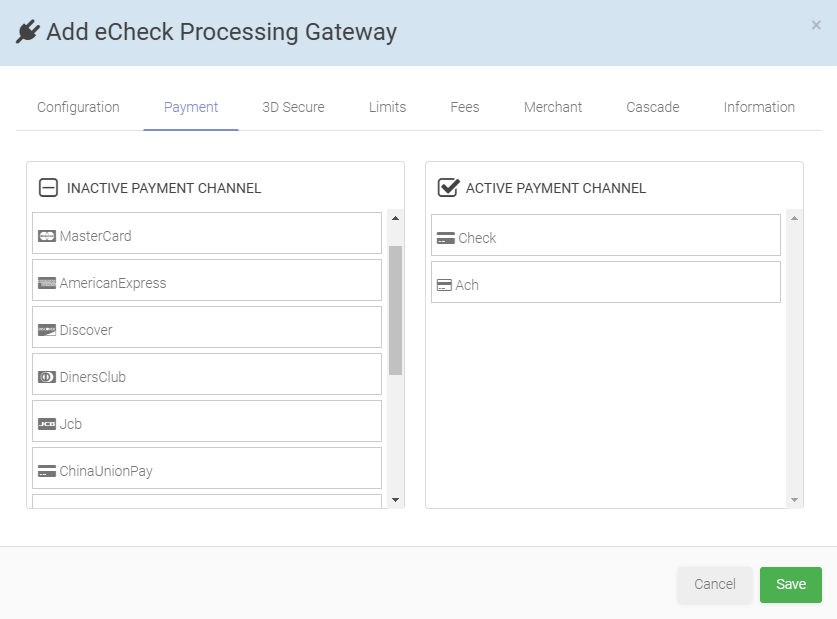
eCheck accepts the Customer's Account Number and Routing number and only requires the Secret Key to be entered. However, eCheck does not validate funds.
Account to Account has the customer authenticate with their preferred bank and validate the transfer of funds via eCheck, which also validates funds. If you are using this method, then you need to enter both you Publishable and secret Keys.
NOTE: If you do not know how the get the API Key for Seamless Chex, please refer to this article: Get Seamless Chex API Key. - On the Payments tab, drag and drop the Payment Channels ACH and Check from the Inactive to Active Payment Channels,
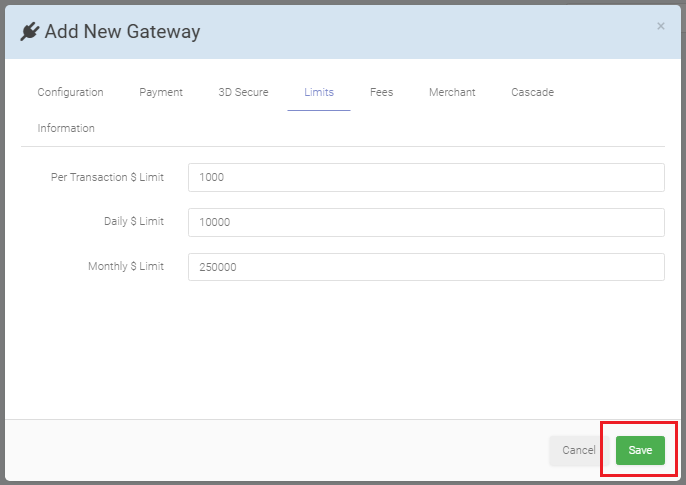
- The Limits tab will set the Ticket Limits. The default values are already placed. Change the limits as you need. Click Save after you've completed the setup.
- Once your Connector is setup don't forget to setup your webhooks in the Seamless dashboard to get updated status on the eChecks. See SEAMLESS CHEX - Setting up your Webhooks
Comments
0 comments
Please sign in to leave a comment.