
Summary
|
OpenPath allows you to setup several client payment options on your Shopify checkout besides Credit Cards, such as Check, eCheck and ACH. The following article will guide you through setting up Account to Account in the OpenPath portal.
WARNING: You must have a payment provider setup in your connectors that accepts check payments for this feature to work on your store. |
What is Account to Account?
In OpenPath an Account to Account Payment Type is any Payment Type that allows the merchants clients to authenticate directly with their Bank to verify funds and submit the payment details to initiate a Client Account to Merchant Account transaction through Check, ACH, Wire Transfer, ect. depending on what the Account to Account provider has enabled for the Merchant.
Account to Account Providers
- Seamless Chex - If you want to setup a Seamless Chex account please follow this link: Sign Up | Accept and Send Payments Today | SeamlessChex
Instructions
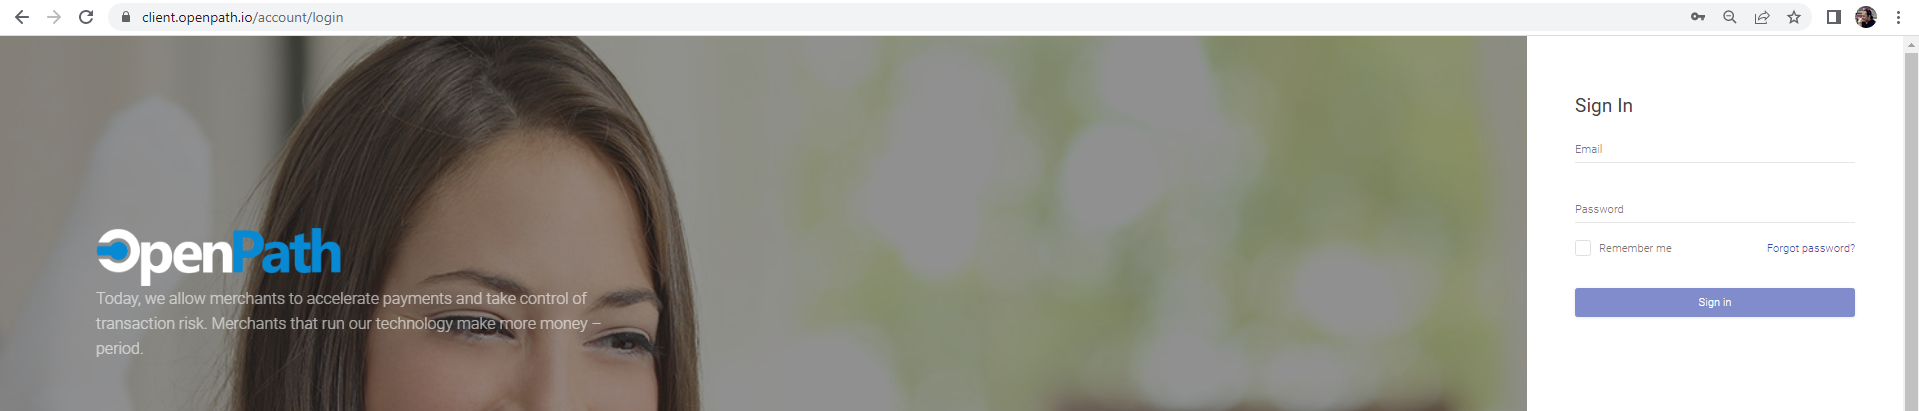
| 1 | Login | Login to the OpenPath Admin Portal at https://client.openpath.io/and input your username and password and click Sign In. |
 |
||
| 2 | Integrations | Navigate to the Left Menu and choose Integrations. |
| 3 | Stores | In order to access your Shopify store, find the Shopify Integration and click on the Shopify link in the Integration box. |
| 4 | Settings | Find the card the contains the Shopify Integration where you want to change the payment settings. |
| 5 | Options | Next locate the Options tab and click on that. |
| 6 | Enable | Finally, locate the Account to Account toggle switch and switch it to green. Please note that you can select as many options as you would like, so you can accept Credit Cards (if you have a Credit Card Connector setup) and Checks, or you can just enable Account to Account. |
| 7 | Save | Once you've updated your settings, click on the Save & Close button to commit your change to your Shopify store. |
Comments
0 comments
Please sign in to leave a comment.