
In this article we will take you though the step-by-step instructions for setting up WooCommerce to connect to the OpenPath platform as a gateway.
Instructions for Installing the WooCommerce Plug-in
|
PLUG-IN DOWNLOAD |
First download the above WooCommerce plug-in to your desktop or preferred location.
-
Login to your WordPress account

-
Then navigate to Plugins | Add New and click on the link

-
At the top of the Add Plugins screen click on the Upload Plugin button

-
Click on the Choose File button and locate the Plugin you downloaded in Step 1, then click Install Now

-
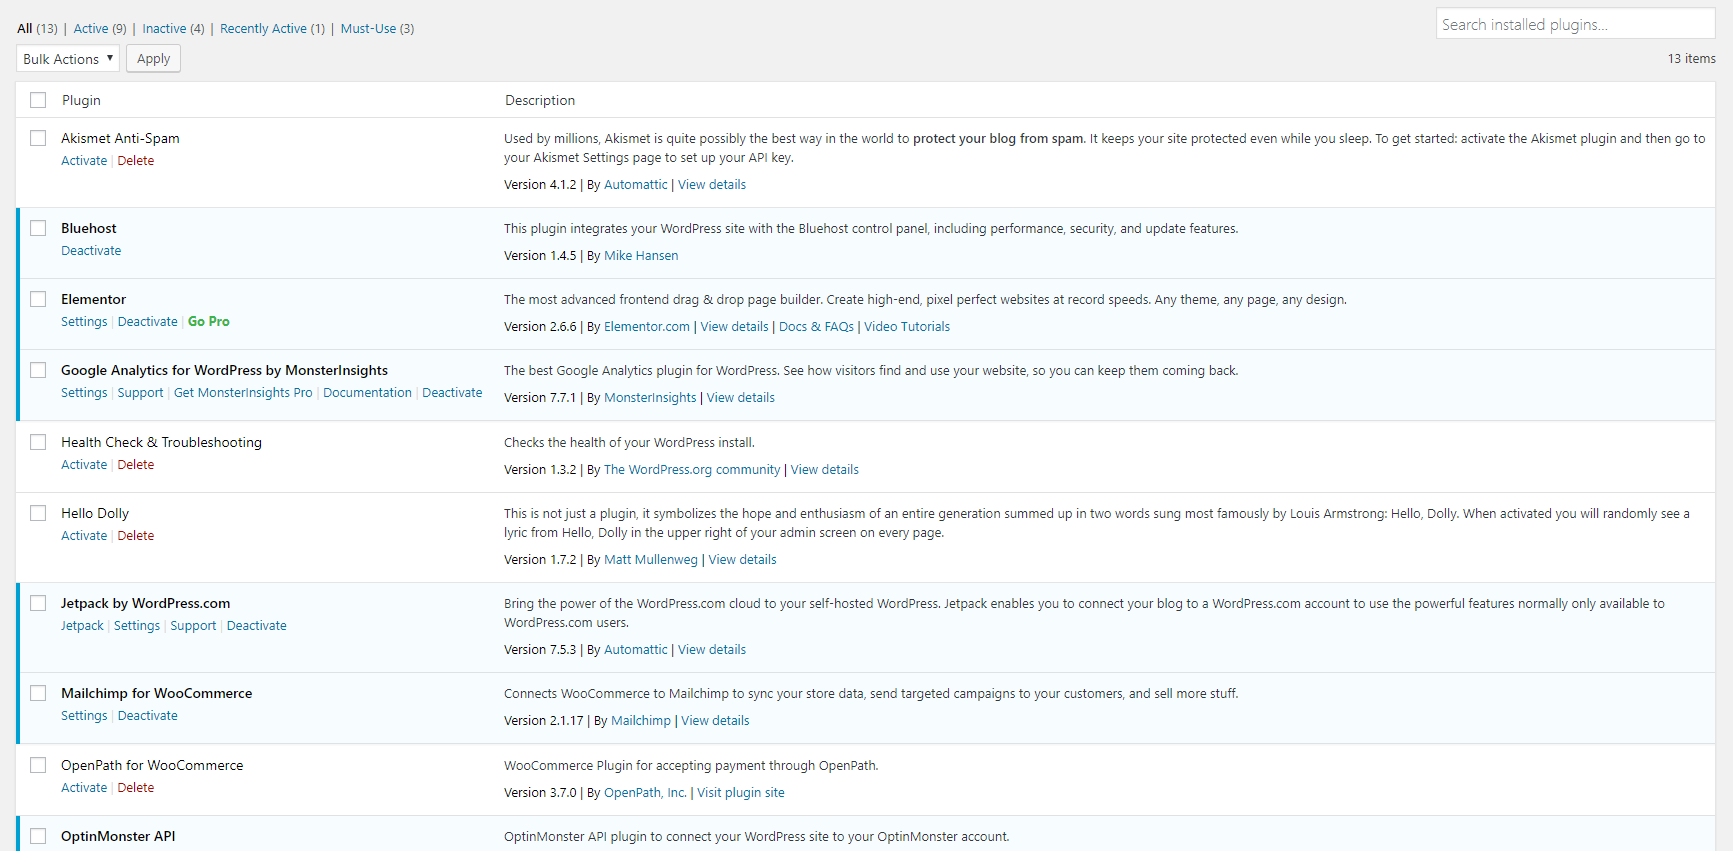
Once installed, navigate back to Plugins | Installed Plugins and click on the link

-
In the list of Installed plugins, find the plugin called OpenPath for WooCommerce and click the Activate link.
Instructions for Configuring the OpenPath WooCommerce Plug-in
If the OpenPath onboarding team has already provided you with your Site Username and Password, you can skip directly to step 6.
-
Login in to your OpenPath account at https://client.openpath.io

-
Navigate to Sites in your left hand menu
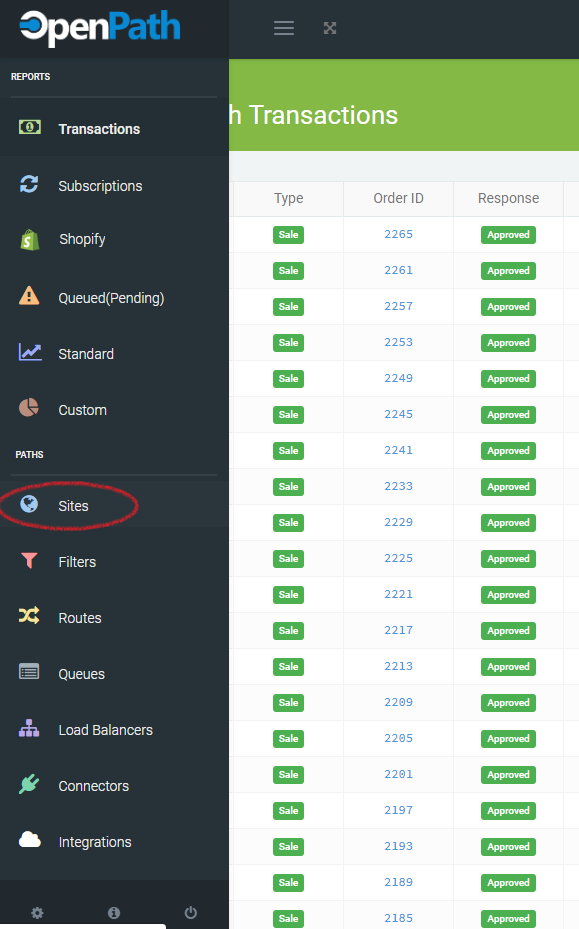
-
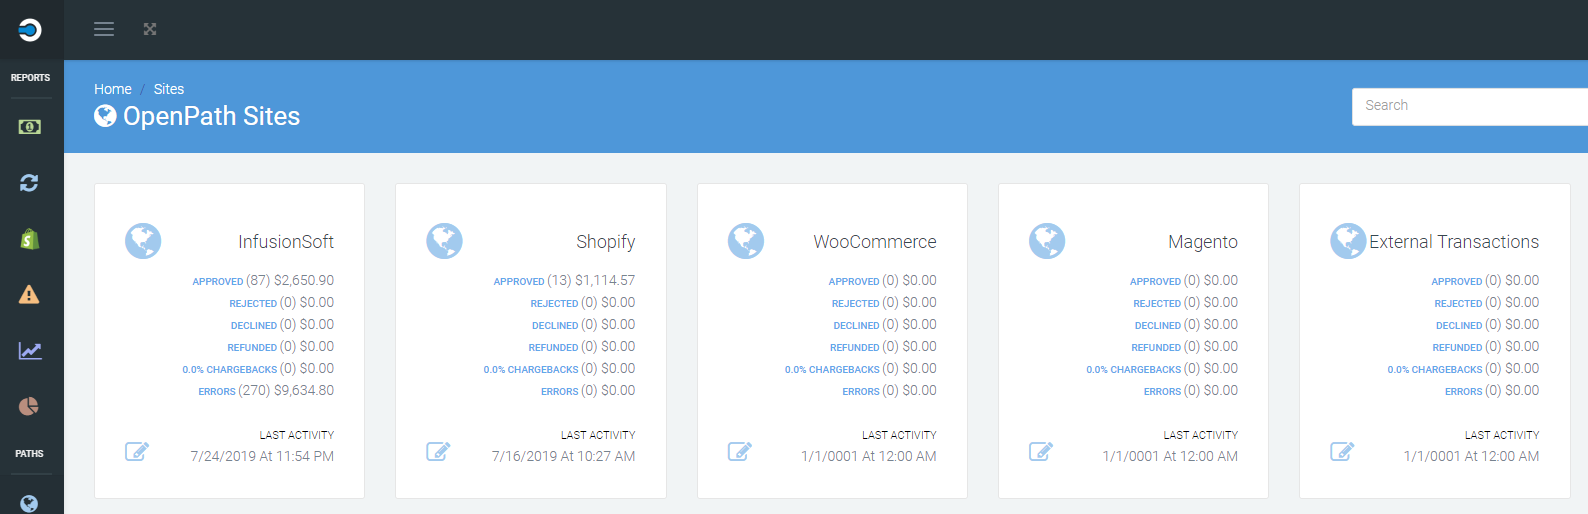
Then select the Site you would like to connect your WooCommerce to by clicking on the edit icon with a pencil on the Site card you would like to select.
-
In the pop-up window for the Site you selected click on the red Generate button to get your API Login ID and Transaction Key.
WARNING: If you have other systems already connected to this site, clicking on Generate will change the API Login ID and Transaction Key which will cause the other systems to fail. If this is the case, contact the person who setup the Site to get the original API Login ID and Transaction Key.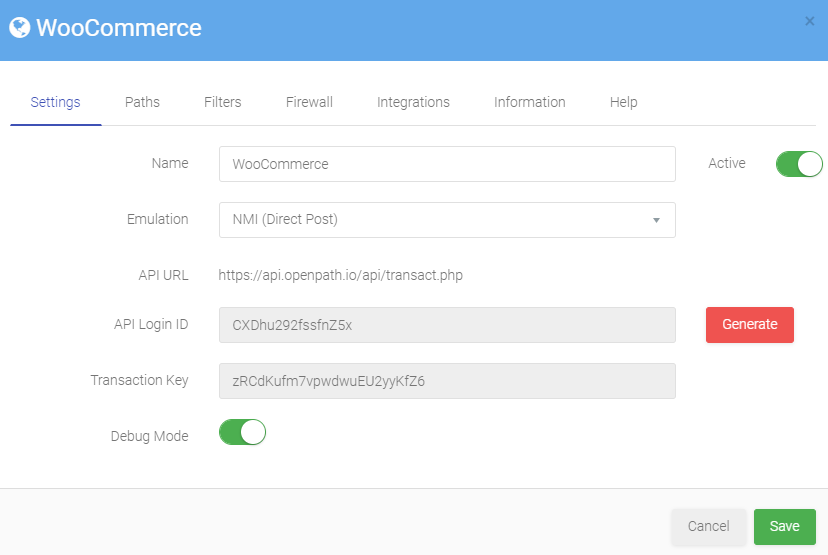
-
Copy the API Login ID and Transaction Key in a secure location.
-
Log back in to your WordPress site that you installed the OpenPath Plugin to.
-
Navigate to WooCommerce | Settings and click on that link

-
Then click on the Payments tab and find OpenPath and click on the Enabled toggle switch.
NOTE: If you are replacing a previous payment method with OpenPath, make sure to de-toggle the toggle switch for the payment method you will not longer be using.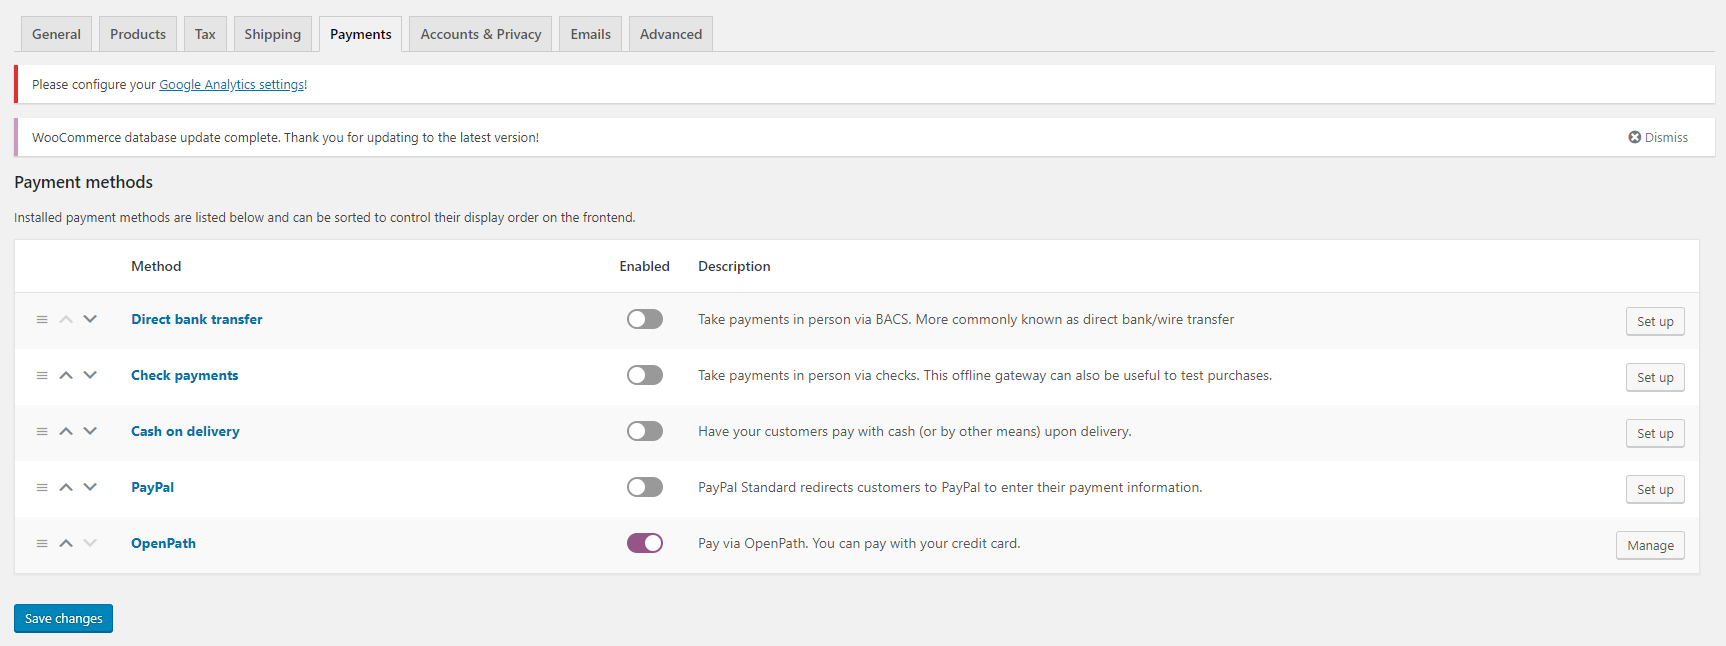
-
After enabling OpenPath as a payment method, click on the Manage button in the OpenPath row
-
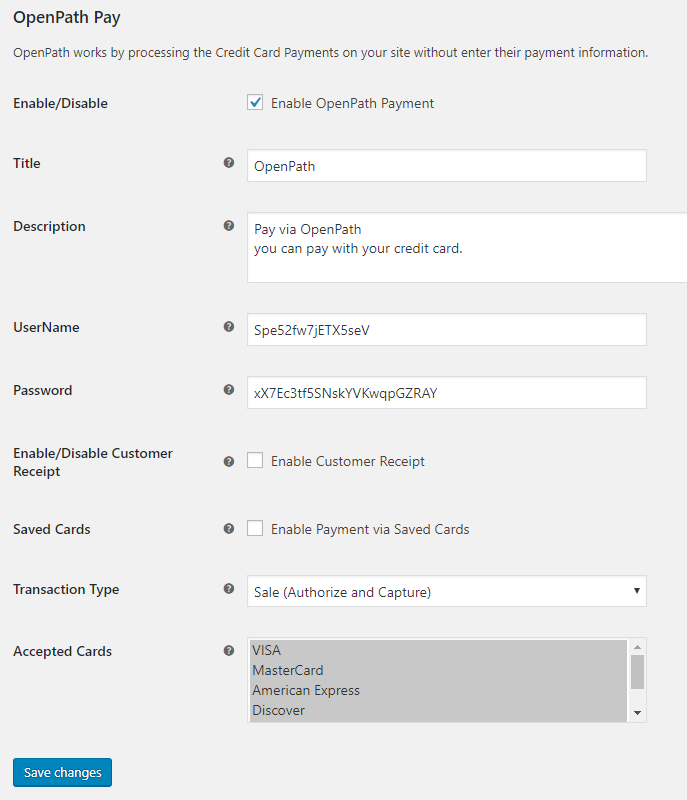
Fill out the above fields as follow:
Enabled/Disabled: Make sure that is checked.
Title: This can be anything you would like and displays as the payment type on the customer checkout page.
RECOMMENDED VALUE Credit Card
Description: This can by anything you would like and displays inside the payment type box.
RECOMMENDED VALUE blank
UserName: This is the API Login ID your recorded in Step 5
Password: This is the Transaction Key you recorded in Step 5
Enable/Disable Customer Receipt: In most WooCommerce installations, WooCommerce handles emailing the customer with Orders and Receipts. If enabled here, WooCommerce will still do whatever it is configured to do and the Payment Gateway will also send an email to the customer.
RECOMMENDED VALUE Unchecked
Saved Cards: If the payment gateway supports saved cards for recurring billing and you are using recurring billing you want to make sure this is checked; otherwise, leave this unchecked.
Transaction Type: If you want to authorize and capture as a completed sale completes, select Sale; otherwise, if you only want to get an authorization on the customers credit card and charge the final total later in WooCommerce, select Authorize Only.
RECOMMENDED VALUE Sale (Authorize and Capture)
Accepted Cars: You will want to check with your payment processor to see what payment networks you are configured for and select those card types. -
Once completed with the steps above, click on the Save changes buttons and you are ready to start accepting cards through OpenPath.
Comments
0 comments
Please sign in to leave a comment.